Most WordPress sites are silently broken.
PHP errors, JavaScript exceptions, plugin conflicts and API failures often go unnoticed — until sales drop or leads stop coming in.
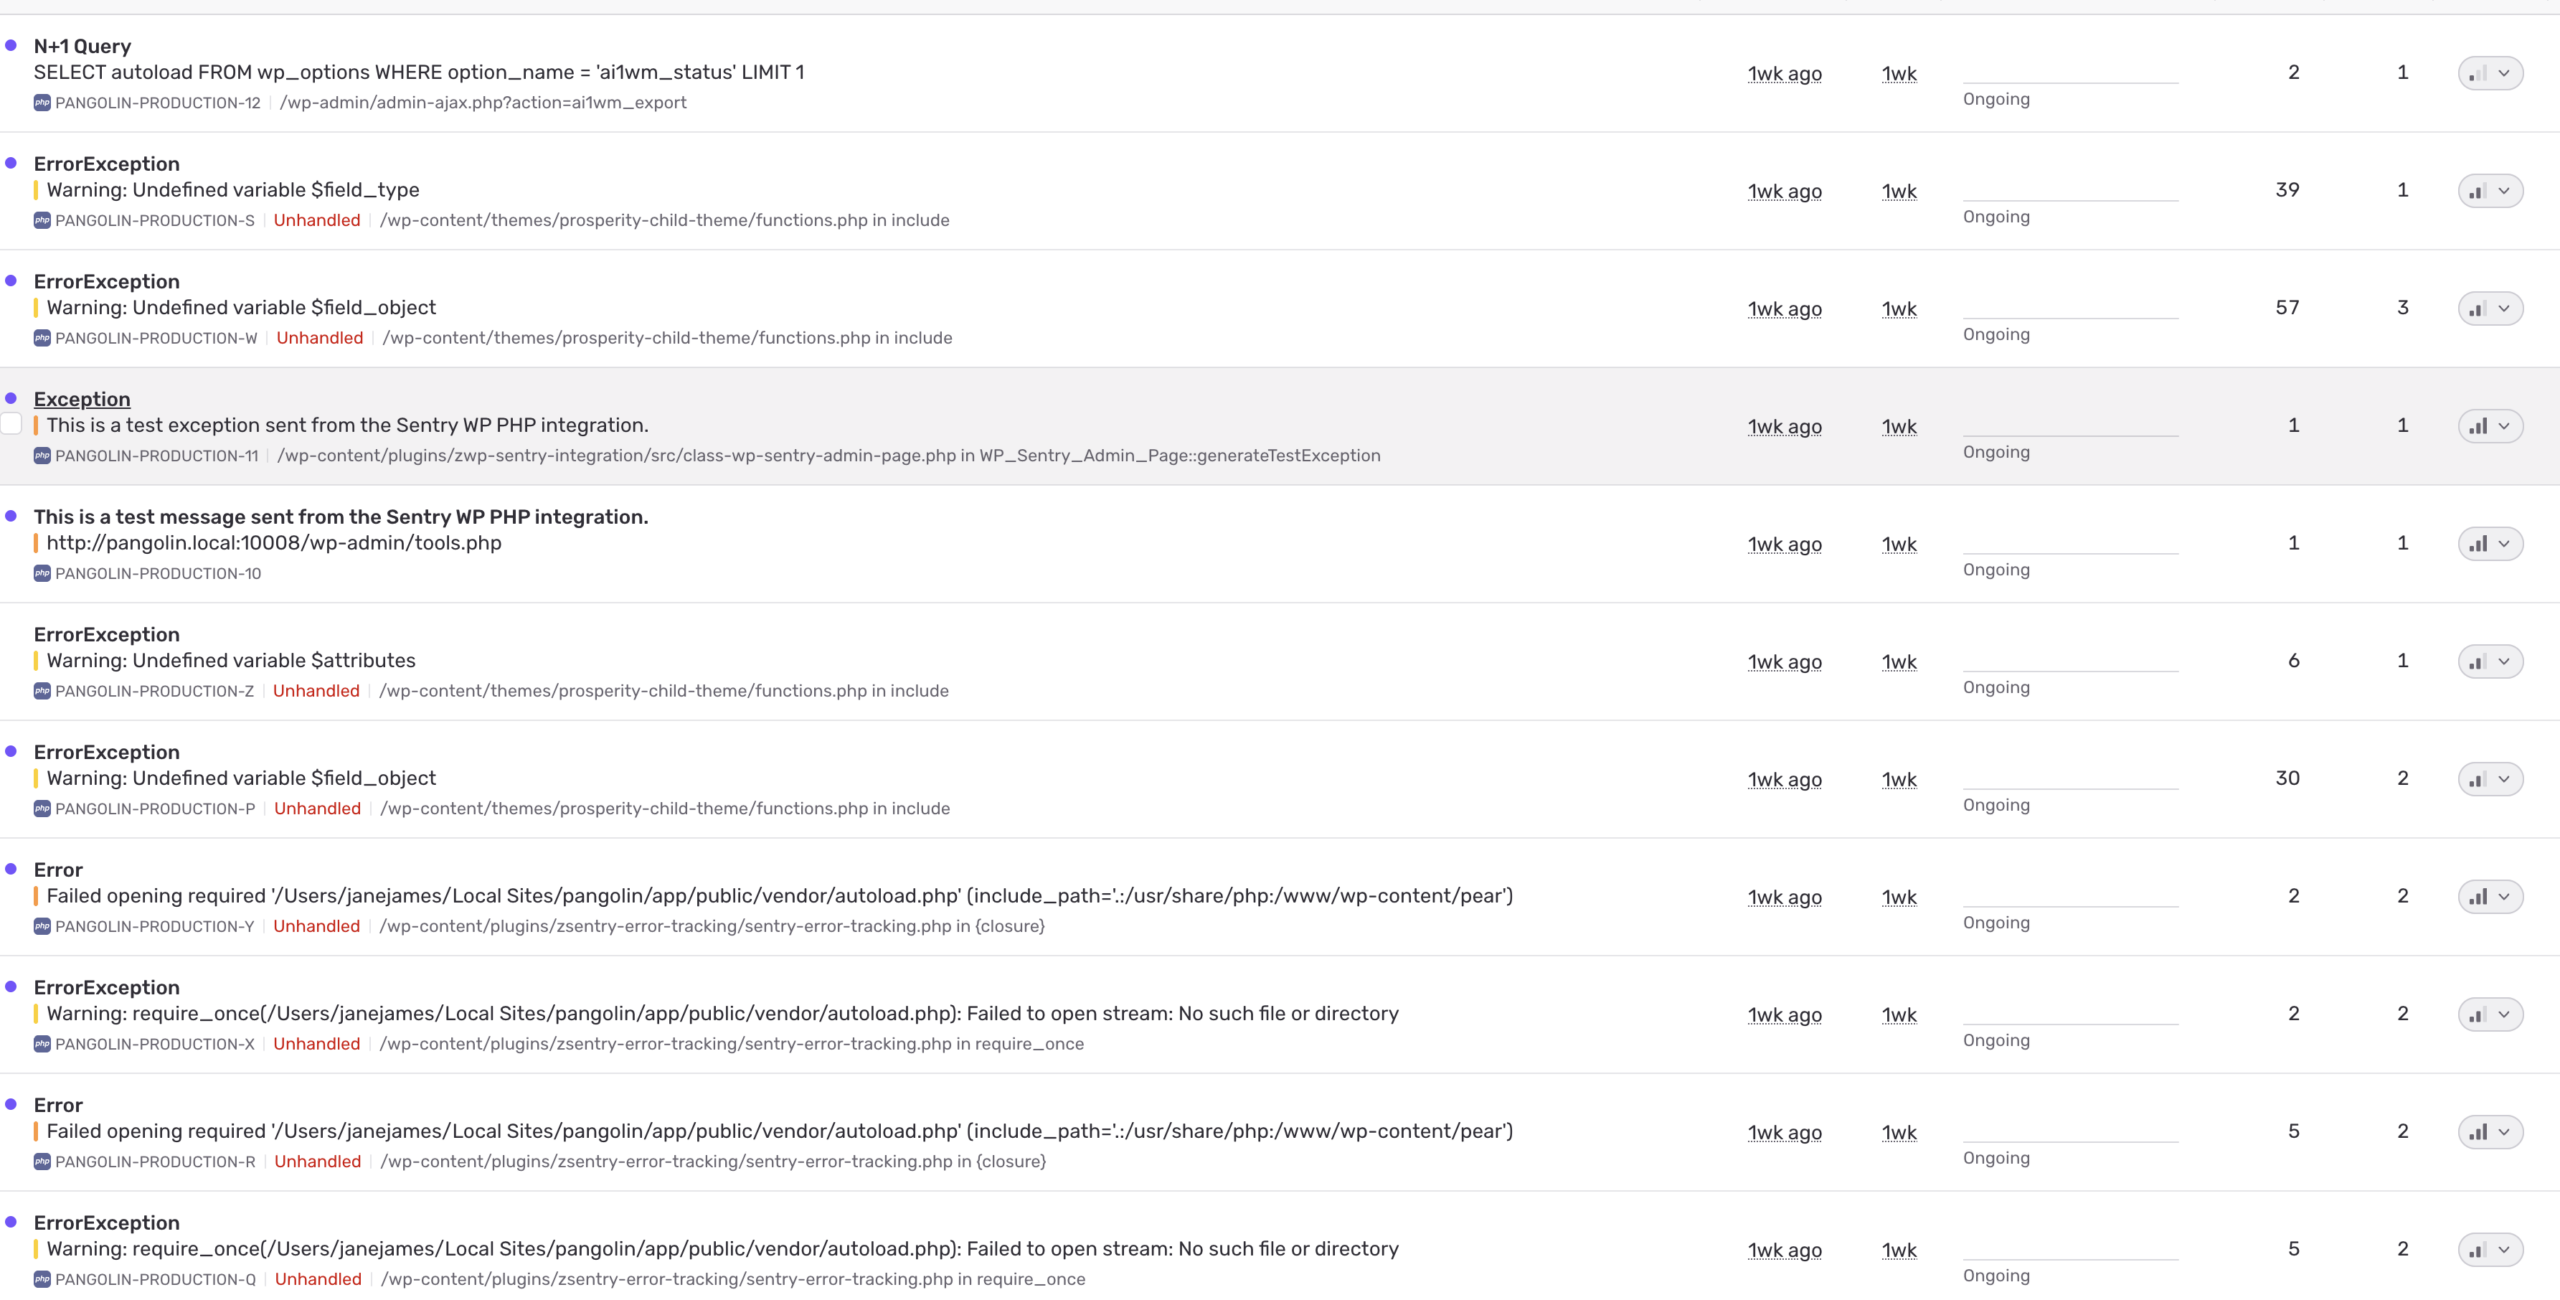
We implement real-time error monitoring and debugging using tools like Sentry to surface issues immediately.
What We Monitor & Fix
✔ PHP errors & fatal crashes
✔ JavaScript errors breaking forms or checkout
✔ Plugin & theme conflicts
✔ API and third-party service failures
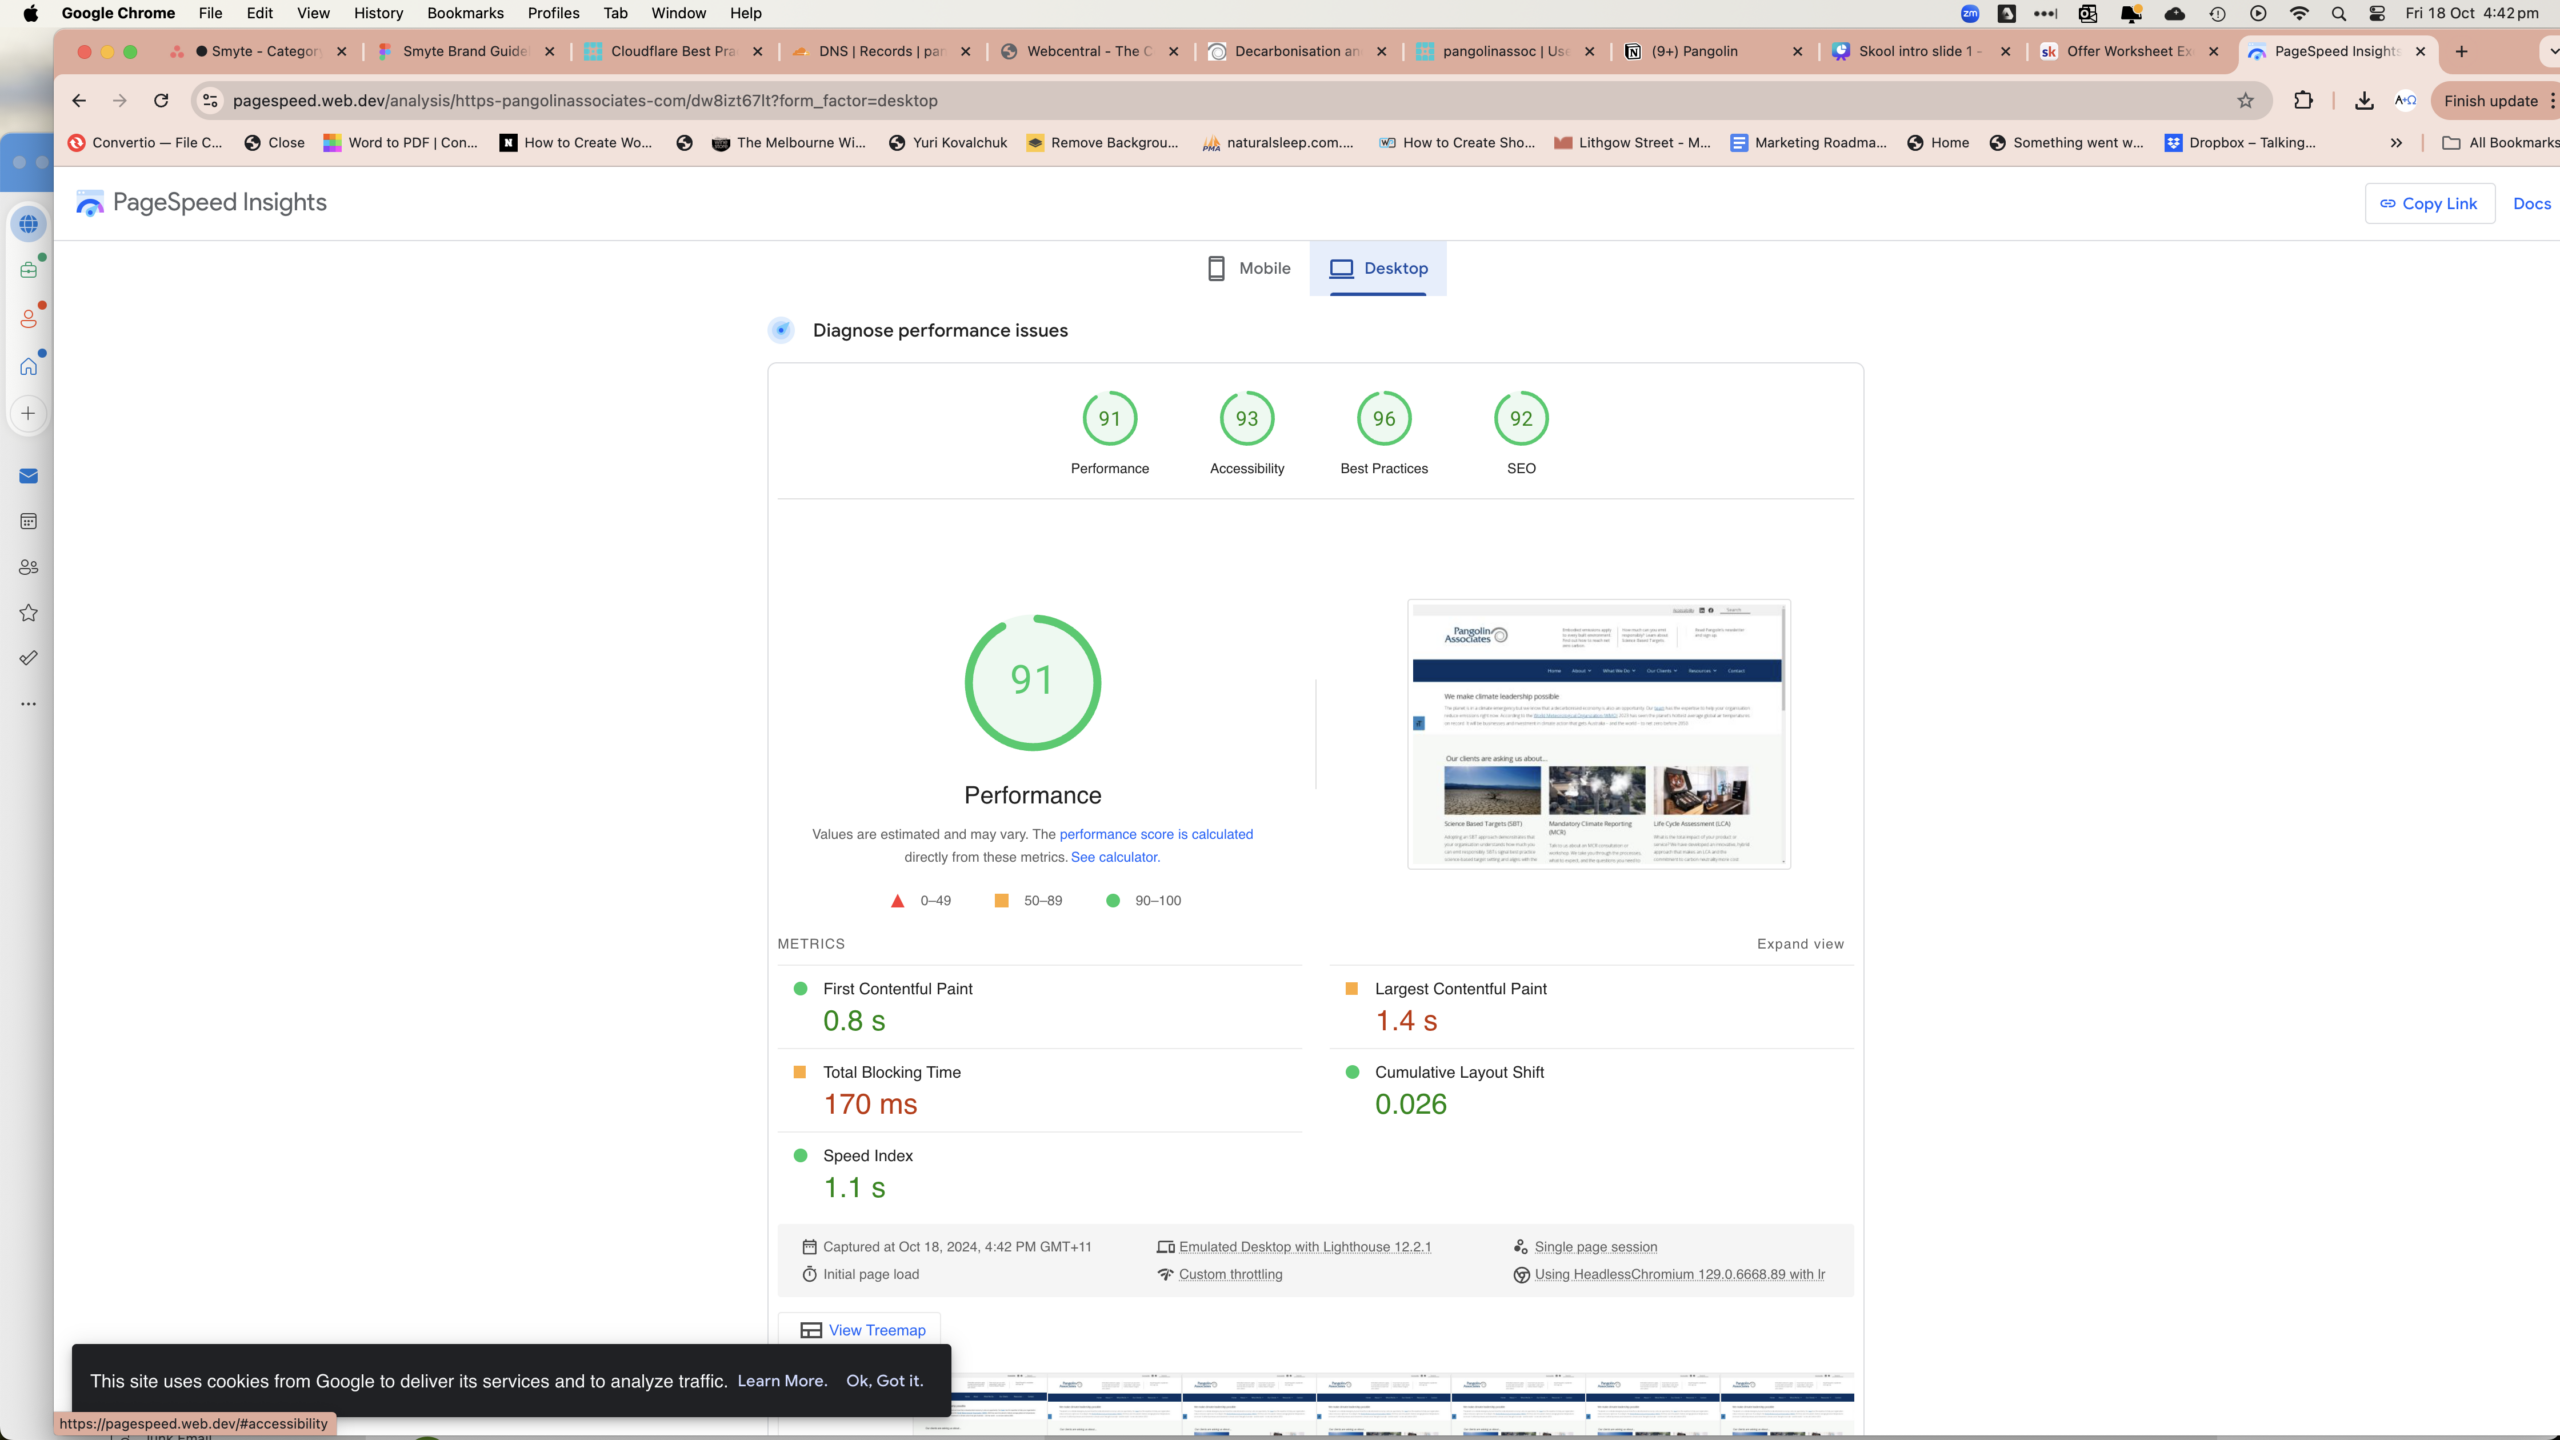
✔ Errors impacting Google Ads, Meta or tracking
✔ Issues that only happen on specific browsers or devices
Instead of guessing, we see exactly what broke, where, and why.