How to launch and configure a WordPress instance on AWS – 2021 guide for beginners
If you’ve never setup a client project on AWS, the process can be very overwhelming. AWS is far less intuitive.
How to launch and configure a WordPress instance on AWS – 2021 guide for beginners
Posted on
If you’ve never setup a client project on AWS, the process can be very overwhelming. AWS is far less intuitive than a standard C panel, and requires scanning through the documentation to figure out which instance is going to be best for your client.
You client may request AWS hosting for many reasons, but the main two are cost and security. The cost of hosting the same amount of data on AWS vs something such as WpEngine is significantly cheaper.
I have setup and run WordPress through an EC2, and using Lightsail and for beginners lightsail can’t be beat. Here’s why:
- With Lightsail you can select a static IP address, which means if you need to stop your instance to modify or configure it (which is likely) you will not lose your login credentials.
- Lightsail gives you all the tools you need to build your server and run WordPress quickly and easily- VPS, SSD storage, backups, data transfer, DNS management, static IP’s and load balancers
- Lightsail provides login details in your system log to access your WordPress site. This happens when setting up an EC2 as well, but if you forget your password or stop and restart your instance you will have to use the terminal to access your instance via SSH and your .pem file, whereas a static IP in Lightsail allows you to skip this step if you stop/start your instance.
So, here’s a walkthrough on how to setup a WordPress server on AWS using lightsail.
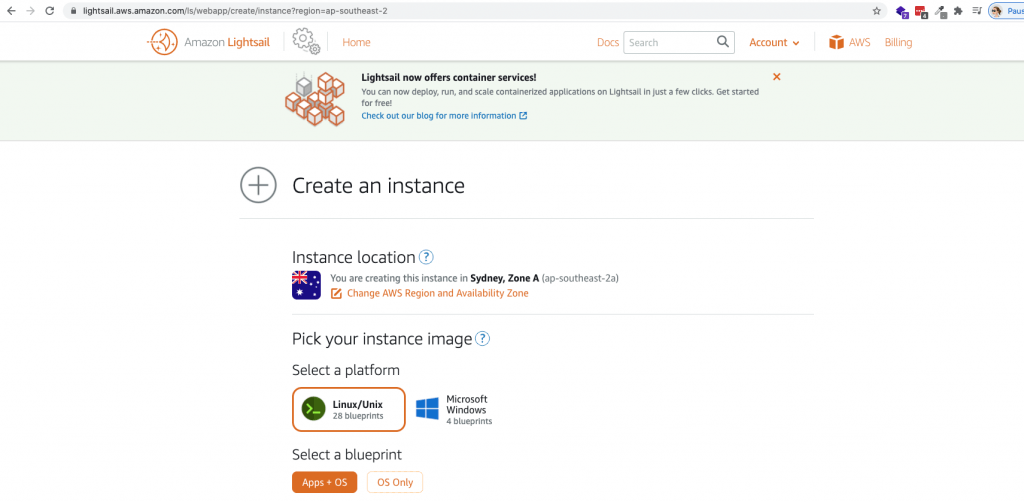
- Go to https://lightsail.aws.amazon.com and create a linux instance. You should select the region that is closest to you. In my case that would be Sydney.
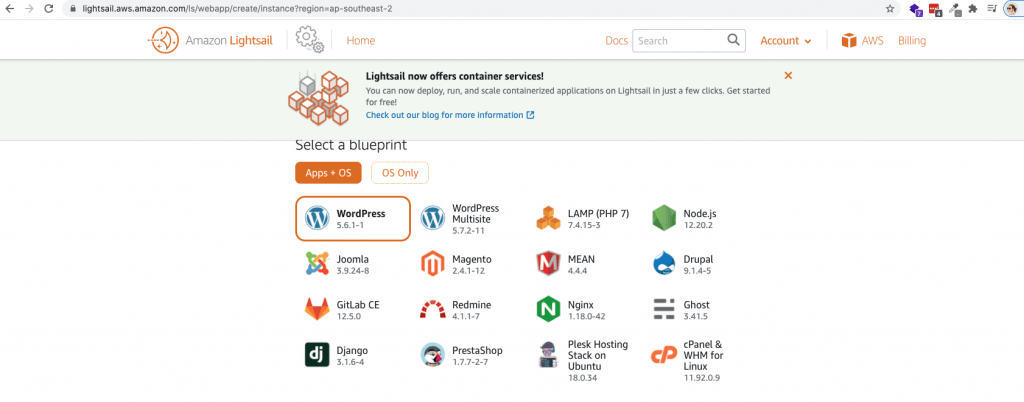
2. Select WordPress from the blueprint options.
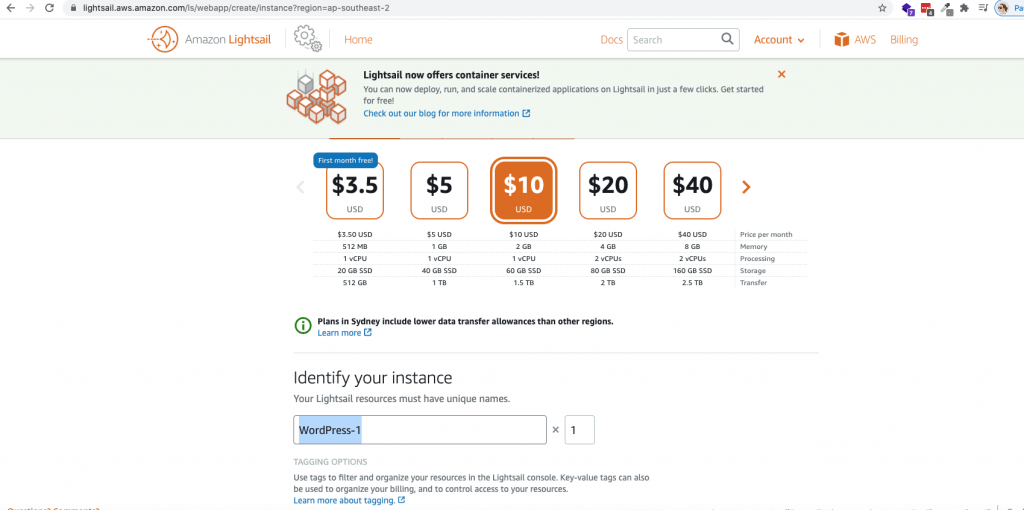
3. Select the plan you require for your server. I recommend the 2GB plan, which is suitable for most websites, however if you select the 512mb or 1G plan, you can always upgrade your server size later on as needed.
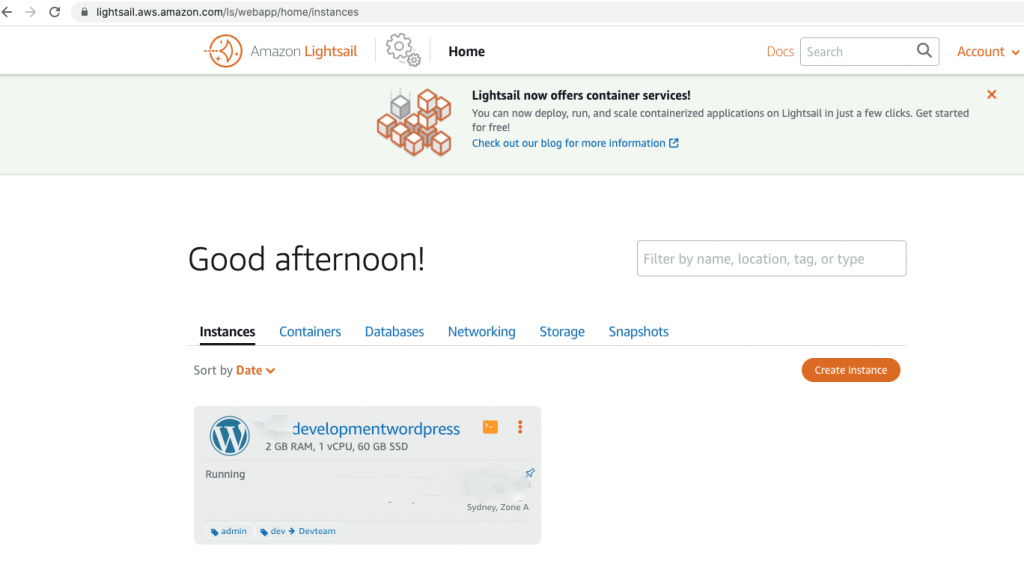
4. Click on the orange square to connect to your instance via SSH
5. Once you SSH to your instance in the browser, the terminal will open and you run this command below to get your WordPress username and password. By default your wordpress username will be ‘user’ but the password will appear in the terminal as circled.
cat $HOME/bitnami_application_password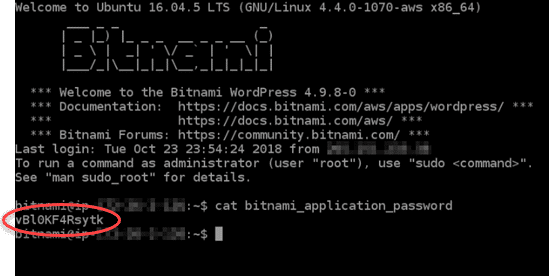
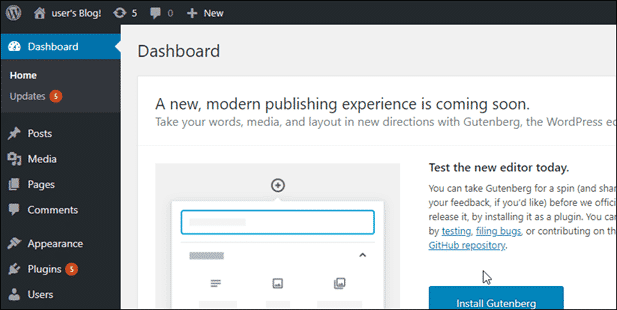
6. Once you have this, go into https://ipaddress/wp-admin and log in to your site.
7. You should now see your WordPress dashboard.
I hope this helps some of you out, and it really is the lowest barrier to entry in terms of getting started with AWS. I will be posting more complex AWS tutorials in the future, as I’m going for my developer certification, but if you have any questions please drop me an email and I’ll do my best to help you out.
Alpha Omega Digital is a WordPress web development agency based in Melbourne, Australia but also services clientsfrom Sydney, Brisbane, Newcastle, Perth, Adelaide, Darwin and Hobart.